

Sooner or later, everyone needs to grab whatever is sitting on their screen. Maybe it’s an error message you want to send to someone who actually knows what it means. Maybe it’s a booking confirmation, a chat, or a page you’d rather not lose. Either way, a screenshot is the fastest fix, and your laptop already has a few built in. Here’s how to take screenshot in laptop, on both Windows and MacBook.
How to Take a Screenshot on a Windows Laptop
Take Full-Screen Screenshot Using Print Screen
Print Screen is the old reliable. It grabs everything on the screen in one press.
- Press PrtScn on your keyboard.
- Nothing seems to happen, but the image is now sitting on your clipboard.
- Open Paint, Word, or any app that accepts images, and press Ctrl + V to paste it.
- Save it wherever you like.
One thing that trips people up: on a lot of laptops, PrtScn shares a key with something else. If a single press does nothing, try Fn + PrtScn instead.
Screenshot Using Windows + Shift + S
This is the one worth memorising. Windows + Shift + S works on both Windows 10 and Windows 11, and it lets you grab just the part you want.
- Press Windows + Shift + S.
- The screen dims and a small toolbar shows up at the top. Pick the capture style you want.
- Drag across whatever you’re trying to capture.
- The image goes to your clipboard.
- A notification pops up in the corner. Click it if you want to edit the screenshot or save it as a file.
You’re not stuck with rectangles either. There’s a freeform option, a single-window option, and full screen, all in that same toolbar.
Take Screenshot Using Snipping Tool
If you’d rather click than remember a shortcut, Windows still ships with the Snipping Tool.
- Open Snipping Tool from the Start menu.
- Click New.
- Pick the area or the type of capture you need.
- Take the shot.
- Use the tools in the window to mark it up and save it.
It’s handy when you need to draw an arrow or circle something before sending the image on.
Capture the Active Window
Sometimes the full screen is overkill and you only want the window you’re actually working in. Press Alt + PrtScn and that’s what you get.
Like Print Screen, it copies to the clipboard rather than saving a file, so paste it into a document or image editor with Ctrl + V.
Read More: How to Restart or Force Restart a Frozen iPad
How to Take Screenshot on a MacBook
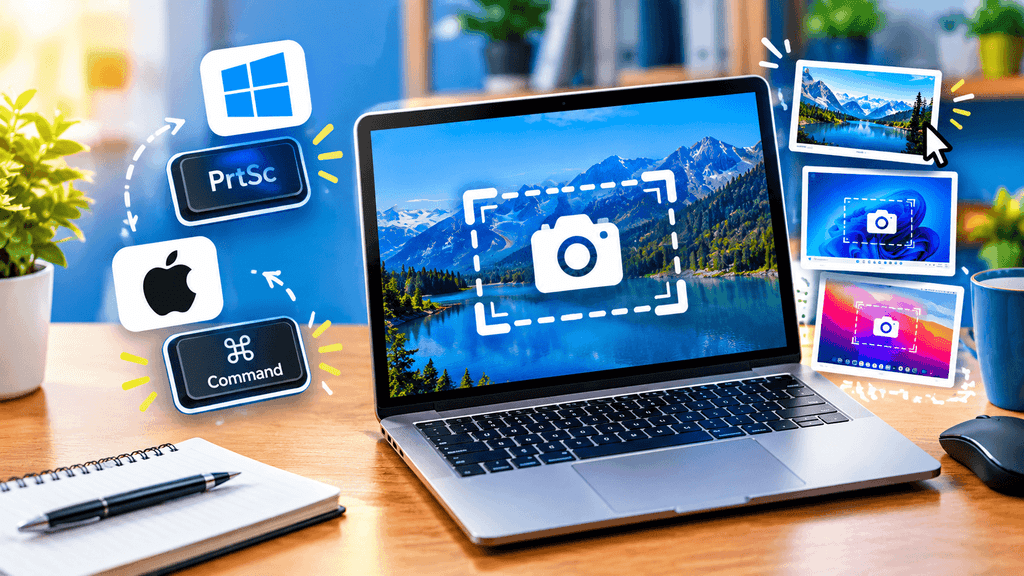
Take Full-Screen Screenshot on Mac
Press Command + Shift + 3 and the whole screen is captured. You’ll usually hear a shutter sound, and the file is normally saved for you automatically.
Capture a Selected Area on Mac
Press Command + Shift + 4. The cursor turns into a crosshair, and you just drag over the part of the screen you want.
Screenshot a Specific Window
Press Command + Shift + 4, then tap the Spacebar. The cursor becomes a small camera. Click the window you want and only that window is captured.
Between these three, you can cover almost anything without downloading extra software. That’s really all there is to how to take screenshot on MacBook.
Where Are Screenshots Saved on a Laptop?
On Windows, it depends on which method you used. Some shortcuts drop the file straight into Pictures > Screenshots, while anything that goes to the clipboard has to be pasted somewhere and saved by hand.
Mac is more predictable. Screenshots normally land on the Desktop by default.
How to Edit and Crop a Screenshot on Windows and Mac
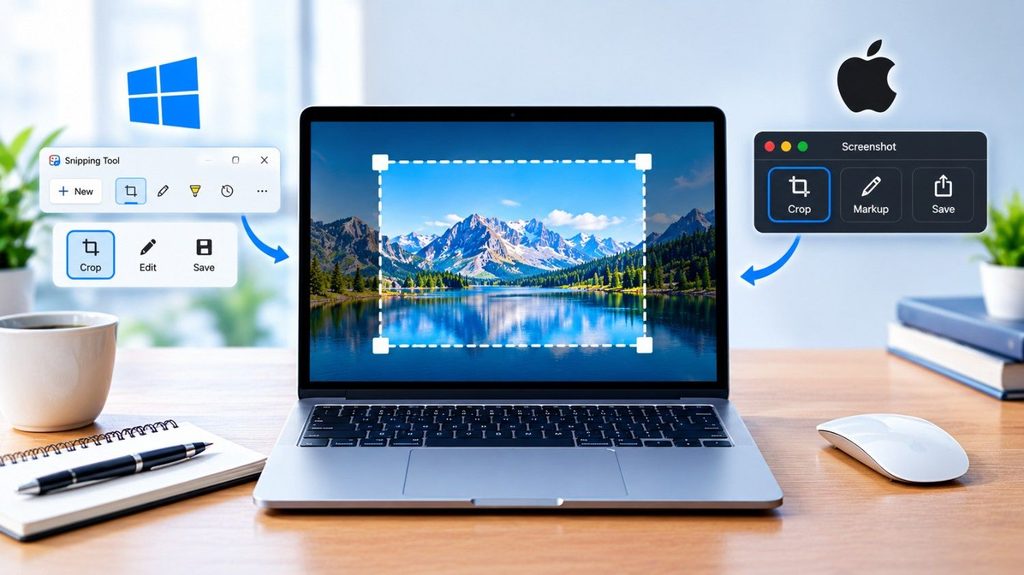
Once you’ve got the image, trimming it down is easy. On Windows, the Snipping Tool and Paint handle cropping, resizing, and basic annotation. On Mac, the screenshot tools and Preview do the same job.
For Windows
- Snip & Sketch / Snipping Tool: Press
Win + Shift + Sto take a snapshot, click the notification to open it in Snipping Tool, where you may crop, draw and highlight. - Photos app: Navigate to the screenshot (typically found in Pictures > Screenshots), click Edit image (pencil icon) and use the Crop tool to move the corners to crop the image. When done, click Save a copy.
- Paint: Open the image, click Select > drag to select the region > Crop in the toolbar.
For Mac
- Capture with editing built in:
Cmd + Shift + 4to choose an area orCmd + Shift + 5for other options (window, full screen, timer). A thumbnail appears in the corner, click on it to access the Markup editor. - In Markup: Crop the image with the crop handles on the corners/edges, or add annotations, shapes and text with the toolbar.
- Preview app: Open any image and pick Tools > Adjust Size or select an area with the rectangle tool and Tools > Crop.
Some key things to remember when Taking screenshots:
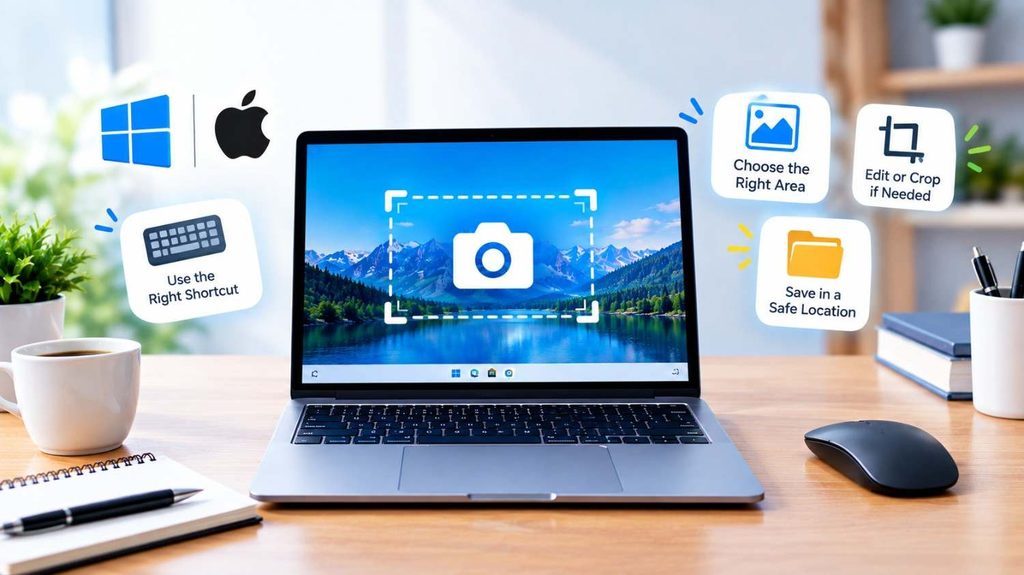
- Check your screen resolution first – A screenshot is an image of exactly what is on your screen, thus lower resolution equals worse quality output, especially if you want to crop or zoom in the future.
- Close sensitive tabs/notifications – passwords, personal messages or private information can mistakenly appear in the background or notification pop-ups.
- Select the proper capture mode – whole screen vs window vs selected region; selecting the wrong one means more cropping effort later.
- Save in the proper format – PNG for screenshots with text/UI (lossless, keeps text crisp), JPEG for photographs (lower file size).
- Rename or move files right away – screenshots can quickly fill up the default folder, so it’s easier to rename/move them straight away to save time later.
- Is the cursor showing?– Some programs will include your mouse cursor by default which might seem messy in tutorials or documents, most snipping tools will enable you turn this off.
- Scaling/DPI Issues – Resized screenshots sometimes appear blurry on high-res screens. Don’t stretch too much after capturing.
- Crop before sharing – remove unneeded UI clutter (taskbar, browser tabs) so the viewer is focused on what important.
- Redact sensitive data – obscure out or block out emails, account numbers or IDs before publishing them publicly.
Conclusion
Once you know “How to take screenshot in laptop“, capturing something takes about a second instead of a minute of hunting around. Windows gives you PrtScn, Windows + Shift + S, and the Snipping Tool, while MacBook users get the simple Command + Shift combinations. Pick the one that fits how you work and it’ll become muscle memory soon enough.
Frequently Asked Questions
Q.1. Are you Koow, How do I take a screenshot on a laptop?
Ans.- Use PrtScn or Windows + Shift + S on Windows, and Command + Shift + 3 on a Mac.
Q.2. Answer That, What is the shortcut key for a screenshot on Windows?
Ans.- The common ones are PrtScn, Windows + Shift + S, and Alt + PrtScn.
Q.3. Say, How do I take a screenshot on a MacBook?
Ans.- Command + Shift + 3 captures the full screen, and Command + Shift + 4 lets you select an area.
Q.4. Say, Where does my laptop save screenshots?
Ans.- On Windows they may go to Pictures > Screenshots. On Mac, they normally show up on the Desktop.
Q.5. Answer, Can I take a screenshot without the Print Screen key?
Ans.- Yes. Windows users have Windows + Shift + S, and Mac users can use Command + Shift + 3 or Command + Shift + 4.