
App
How to Take Screenshot on MacBook

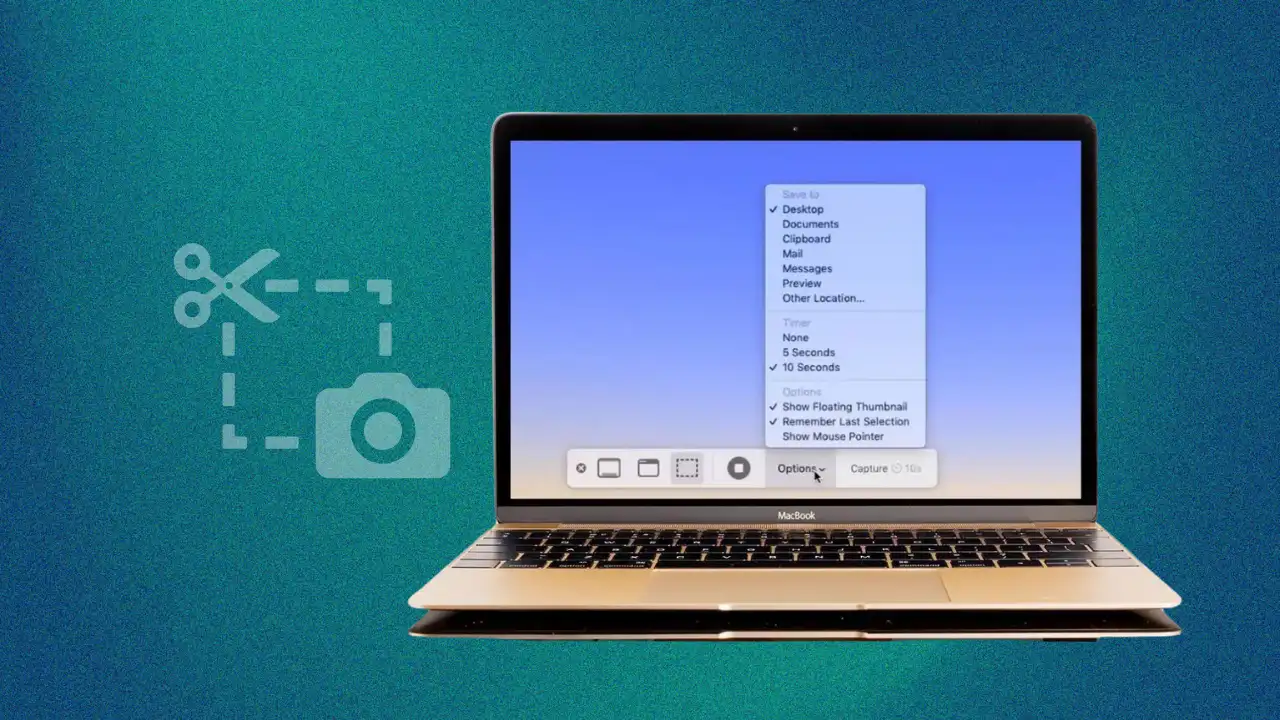
If you’re new to Mac, taking screenshots may seem a little alien — especially if you’re coming from Windows, where you just hit Print Screen. On a MacBook, it works a bit differently, but honestly, once you learn the shortcuts, it becomes second nature pretty fast to Take Screenshot on MacBook.
Let’s walk through everything you need to know.
Capturing Your Entire Screen
This is the most straightforward one. Whenever you want to grab everything visible on your screen — just press Shift + Command (⌘) + 3. Your Mac snaps a photo of the full screen instantly, and a small preview thumbnail pops up in the bottom-right corner. Give it a second and it’ll save itself to your Desktop automatically.
Capturing Just a Part of the Screen
Most of the time, you don’t need the whole screen — just a section of it. For that, press Shift + Command (⌘) + 4. Your cursor turns into a crosshair, and you click and drag to draw a box around whatever you want. Let go of the mouse (or trackpad), and that’s it — only that selected area gets captured.
This one’s genuinely useful when you want to cut out toolbars, ads, or anything else that’s cluttering the image.
Capturing a Single Window
Here’s a neat trick not everyone knows about. If you want a clean screenshot of just one app window — without anything else in the background — do this:
Press Shift + Command (⌘) + 4, then tap the Spacebar. Your cursor will change to a little camera icon. Hover over the window you want, and click it. macOS captures a screenshot of that window, adding a subtle shadow around the outside for a crisp, polished look.
Using the Screenshot Toolbar
If you’re not a big fan of shortcuts, there’s a built-in toolbar that makes everything more visual. Press Shift + Command (⌘) + 5 and a small toolbar appears at the bottom of your screen. From there you can choose to capture the full screen, a window, or a custom area — and there are also screen recording options if you need those.
It’s a nice option to have, especially when you’re still getting comfortable with the shortcuts.
Where Do Screenshots Go?
By default, every screenshot lands on your Desktop with a filename that looks something like: Screenshot 2025-05-22 at 10.34.12 AM.png
If your desktop is getting cluttered, you can change where they’re saved through that same Screenshot Toolbar (hit ⌘+Shift+5, then click “Options”).
Copying to Clipboard Instead of Saving
Sometimes you just want to paste a screenshot directly into a message, doc, or email — you don’t need a file saved anywhere. Just hold Control while using any of the shortcuts above:
- Control + Shift + Command + 3 → copies the full screen to your clipboard
- Control + Shift + Command + 4 → copies your selected area
Then just hit Command + V to paste wherever you need it.
Quick Editing After You Screenshot
After taking a screenshot, click the preview thumbnail before it disappears. This opens a simple markup editor where you can crop the image, draw arrows, add text, highlight something, or even sign a document. It’s surprisingly capable for something built right into the OS — and it saves you from opening a separate app just to circle something.
Wrapping Up
That’s really all there is to it. A handful of shortcuts covers most situations, and once you’ve used them a few times they’ll stick. Full screen, partial area, single window, clipboard copy — macOS has a clean solution for each one.
FAQs
Q.1. What’s the basic screenshot shortcut on MacBook?
Answer- Shift + Command + 3 takes a full-screen screenshot.
Q.2. How do I capture just part of my screen?
Answer- Shift + Command + 4 lets you click and drag to select any area.
Q.3. Where do my screenshots get saved?
Answer- On the Desktop, by default — unless you change it in the Screenshot Toolbar settings.
Q.4. Can I take a screenshot without saving a file?
Answer- Yes — hold Control while using the shortcut, and it copies to your clipboard instead.
Q.5. Is there a visual screenshot tool on Mac?
Answer- Yes — Shift + Command + 5 opens the Screenshot Toolbar with all options in one place.